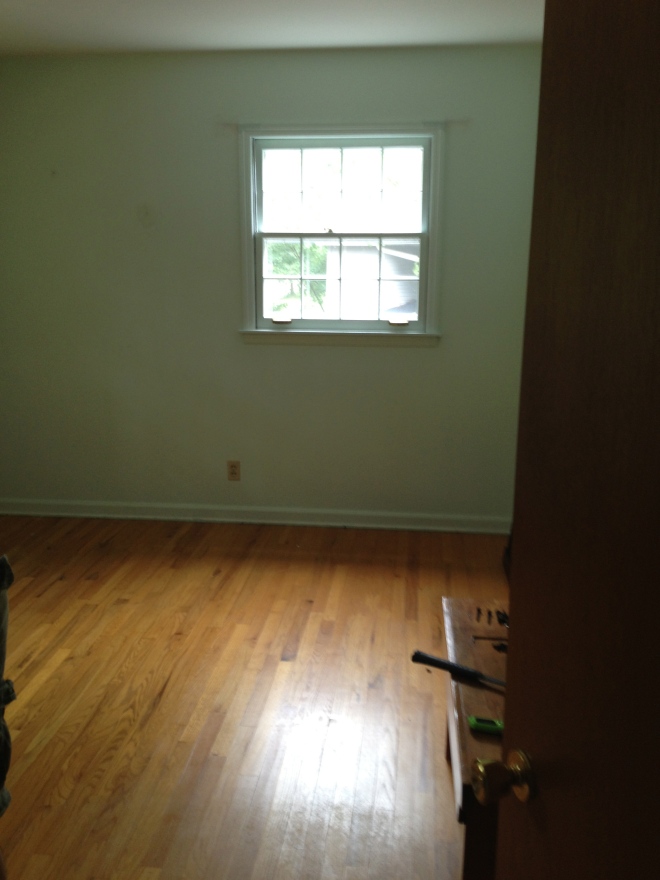
Last night, Nathan put up the floor trim in the guest room. The bedroom is average size, maybe 12×14, and this project took about two hours. Nathan cut the boards in the garage, carried them upstairs, and used a nail gun to secure them to the wall. I know I’ve said it before, but I’m so amazed how much difference 4″ floor trim makes! Since it’s not much more expensive than 2″ floor trim and it’s not any more time consuming to put up, this is a great way to get a lot of bang for your decorative buck!

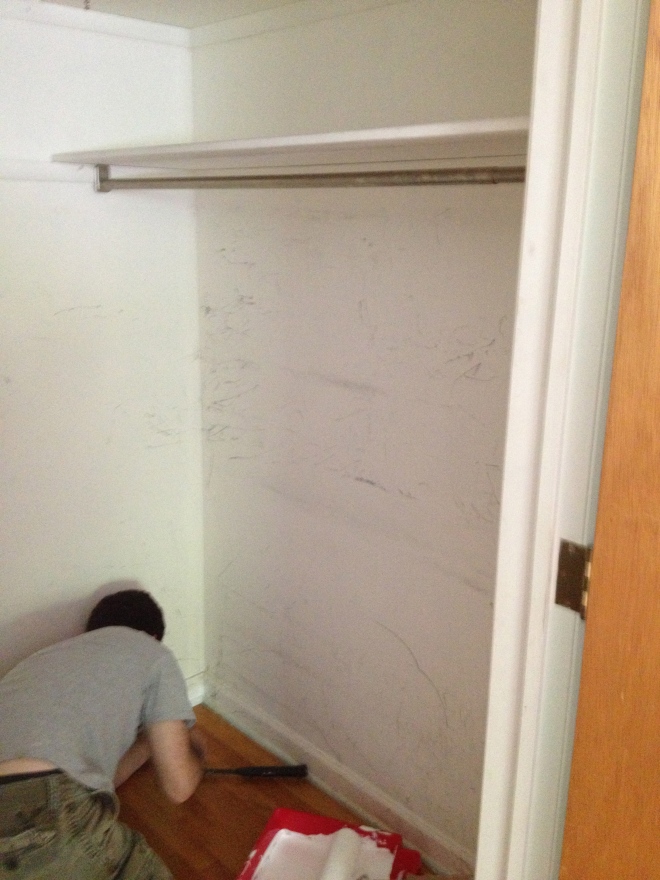
After all the trim was up, Nathan went back over the boards and puttied the seams and nails with drywall mud. You could use wood putty for this job, but he finds it easier and just as effective to use drywall mud. Tonight when it’s dry, we’ll give it a quick sanding and wipe-down before we paint it.

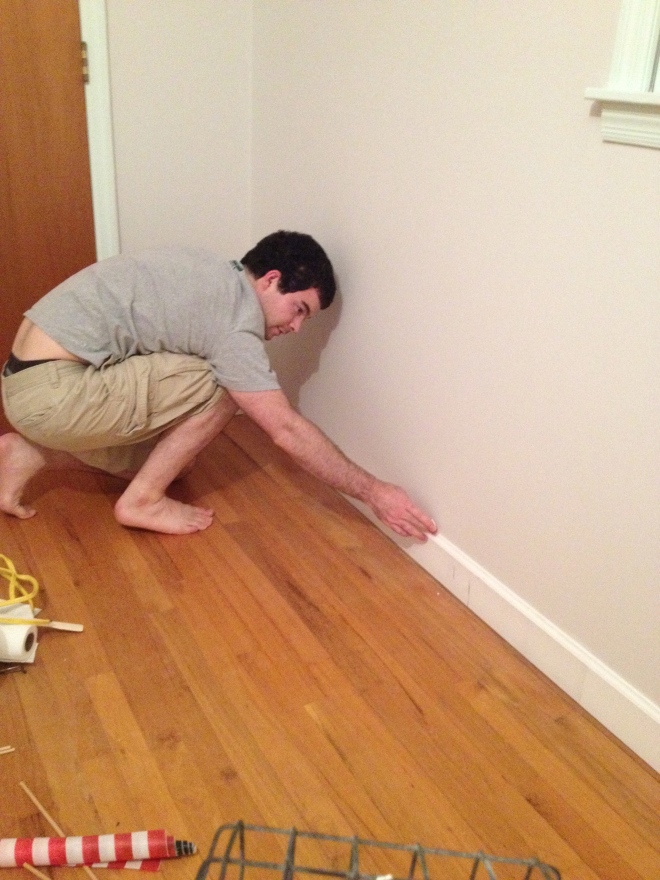
The last step was to caulk the top of the boards with a thin line of paintable white caulking. The caulking fills in any gaps where the board and wall don’t meet perfectly, and gives the job a really finished, professional look. In this picture, Nathan’s running his finger through the wet caulking to smooth it out.
Well, we’re in the home stretch now! Our friends are flying in from LA at 3 am. We’ll both be done working at 6, so that means we have all evening to pull this room together. It certainly won’t be completely decorated, but it will be completely functional.
Here’s our game plan for the night:
-Sand and wipe down floor trim
-Paint floor, door and window trim
-Use a razor blade to remove paint from window panes
-Hang ceiling fan
-Clean room
-Set up bed frames, box springs and mattresses
-Move dresser to the room
-Wash new bedding and put it on the beds