Before and After: Rearranging (Or, Redecorating My House Without Spending A Dime)


100_2295

Okay, this part of the room didn’t change, but I just love it, so I wanted to post this picture again.

100_1657

Before: Target cubbies, chair that I didn’t have room for in the living room, and small night stand.

100_2293

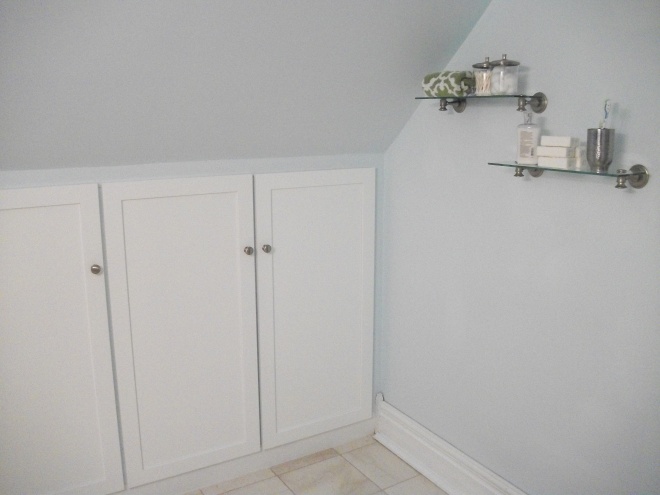
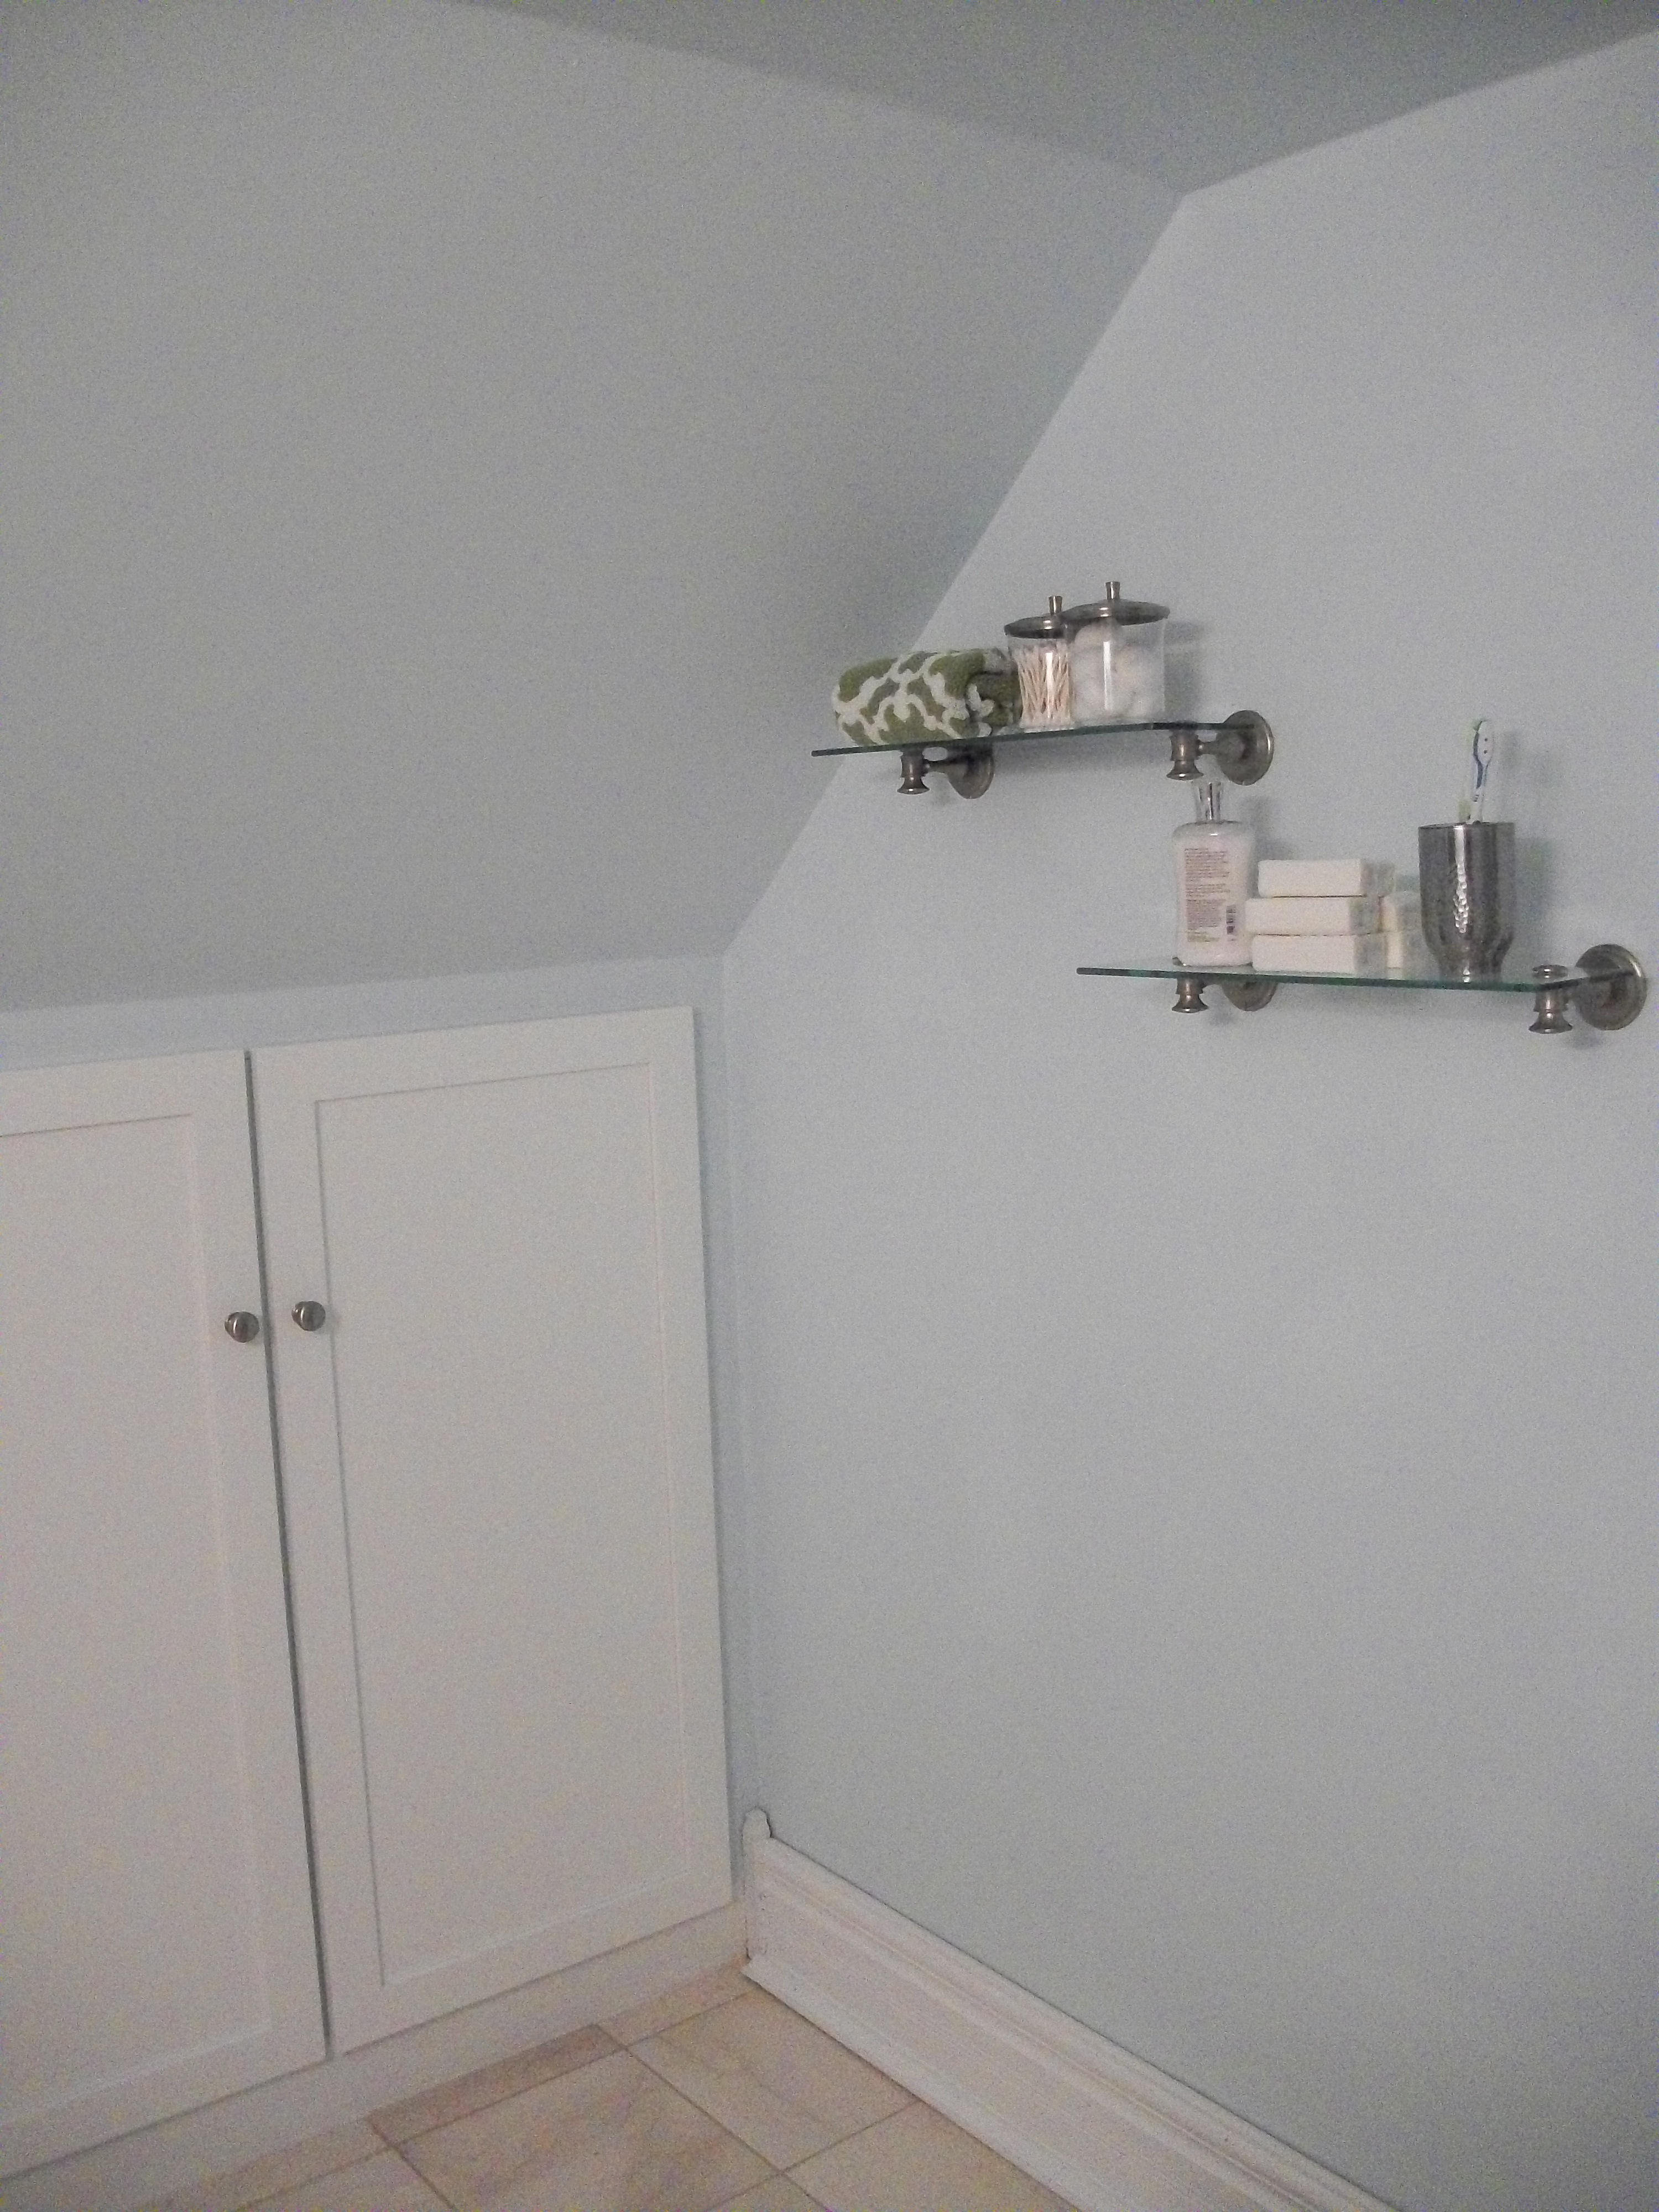
After: I moved our Target cubby shelf that holds socks/undies/tights/swimsuits/tank tops to the wall that used to hold the chair and small table.  It’s a much cleaner look.  The low wall at the bottom of the ceiling angle is empty now, and I like it.

100_2292

After: Changing out the plain lamp with the white shade for the sparkly lamp with a black shade was a $20 fix, but it made a huge impact.  Even just swapping a white shade for a black shade can make a big difference.

100_1654


Before: One bathroom wasn’t finished, and the other didn’t have a mirror yet, so I had to blow dry my hair and apply makeup in my bedroom.  I know, I know, it’s not the end of the world.  It was just annoying because I was constantly cleaning makeup residue off the dresser.  Plus, the pink hairdryer doesn’t really do anything for the room.

100_2287

After: The hamper got moved to the upstairs bath, since it’s finished now.  The small table, lamp and humidifier now have a home under the anniversary pictures, right next to the big dresser.

Okay, moving on to the living room!

100_2079

Before: I thought I liked this setup until I started looking at the pictures and noticed the decor looked a little heavy on the right side of the room.  So, yesterday, I unloaded the bookshelves, dusted them from top to bottom and started doing a little change.  That was all I planned to do, but, of course, one thing leads to another.

100_2280

After: Bookshelves separated.  Chair carried down from my bedroom to provide extra seating down here, plus give the TV wall a little something to balance it out.  Now, we just need to hide that cord….

100_2083

Before: TV Wall

100_2285

After: TV Wall

100_2276

After: Couch area

100_2283

After: Bookshelves separated, and ottoman shoved in the corner to be used as extra seating when necessary.

Practical Storage (Bathroom Organization)

Nathan put up glass shelves something like these in our bathroom a few months ago.  Since then, I’ve “decorated” them with piles of clothes and wet towels.  When we were getting ready for our home appraisal last week, I was getting the bathroom spiffed up (painting trim, touching up walls, sealing the tile) and decided it was time to do something with the shelves.  It took about 5 minutes and cost me nothing since I only used things I already owned.

100_1982

I didn’t want to spend a bunch of money to decorate the shelves.  And, although we have great storage with those in-wall cabinets, we don’t have room on the pedestal sink for things that would normally be sitting within easy access on a countertop.

100_1981

So, I started pulling things out of the cabinets for the shelf, and got some practical, pretty storage for FREE!

100_1980

The towel is a match to the one I posted about here.  I bought the glass jars (actually plastic) at Walmart a couple years ago for just a few dollars.  They put q-tips and cotton balls within easy reach.  On the second shelf, a bottle of lotion, 5 bars of soap stacked up and a toothbrush holder, also found at Walmart a few years ago, finish it off.  As silly as it sounds, it has been so nice to eliminate the steps of opening and closing cabinet doors to reach this stuff!

100_1979

10 Minute Design Fix for $10 or Less

There may be patches of snow outside and it might only be the beginning of February, but I’m ready for some Spring!  I love to bring little changes into our house for the holidays and  seasons, but as much as I love decorating, it can be overwhelming to our schedule and budget.  Sometimes I feel like a crazy person with all the design choices I have to make since we have this whole-home renovation going on right now.  I ask myself things like, “Am I really going to like this countertop I’m picking out based on 2-minutes of looking at samples at Home Depot 10 years from now?”   As we wrap up our major projects on the house, I decided to start sprucing the place up with quick and inexpensive fixes that make a big impact.  I crave a few choices I don’t have to be okay with until I’m 35.  So, enter my little blog series, “10-Minute Design Fixes for $10 or Less”.

Let’s start with how to add a little “Bam!” to  your bathroom.  Actually, let’s start with a picture of how this bathroom looked when we bought our house.

Nathan's house 043

Pepto-Bismal pink was apparently a favorite with the renters who lived here before us.

Nathan's house 042

You can’t get the full effect here with just a picture.  The smell really set the room off- there were three dead mice in the toilet tank and one in the bathtub.  I should have gotten up-close pictures of the rusty tub and the gold linoleum.

It came a long way by the time we got to the picture below, taken about 11 months ago.  I’ll do a post on the bathroom once we’re completely done with it.

100_1456

And here’s what it looked like the day we moved in.  Don’t be fooled by the sink and toilet sitting there- they were not hooked up and it took a couple frustrating weeks of us trying to fix our drainage problem on our own, and a few visits by some professional plumbers to get this bathroom functional.  Also notice how the tub regressed to being on its side in this picture. Someone lost I lost the original feet to the tub and the super expensive, modern feet I had to buy apparently don’t fit 100-year-old tubs.  Thanks to a full day of Grandpa Jack’s welding and tinkering, the tub eventually got feet and went upright again.

June 4 032

For the past few weeks, I’ve been trying to figure out how to “fix” the bathroom.  I really did love the light blue paint and the shower curtain, the white fixtures and the neutral marble flooring.  I just wasn’t convinced that the all blue-white-neutral was doing it for me.

I happened to be at Target on Thursday and found these towels.  I scooped up what they had left (two hand towels and two bath towels) and headed home.  It was just the trick!  I spent about $35.00 for this fix since we needed towels anyway, but really, $7.99 on one hand towel would give you the same pop of springy color in your bathroom.

100_1806

100_1814

100_1811100_1810

Time to stop reading my blog.  Head to Target now.